
With the popularity of IFTTT increasing every day and its amazing list of available channels, it made sense for Bitdog to enable integration between IFTTT and the Bitdog Hub. In the following posts, I will describe how to use IFTTT to light an LED attached to your Raspberry Pi when a Twitter user tweets #iotrocks. We will also create automatic tweets when a hardware button is pressed.
Prerequisites
In order to get Bitdog Hub talking to IFTTT, you should first have your Bitdog Hub up and running. If you don’t, you can follow this guide from a previous post Bitdog Hub on Raspberry PI.
We will be using an example IFTTT extension that comes with Bitdog Hub as a starting point for IFTTT integration. If you haven’t already read the previous post on extensions, you should read Extensions – Add your code logic before continuing.
This example uses Raspberry Pi’s GPIO pins to detect button presses and to light an LED. You can find more about using Raspberry Pi’s GPIO to interface with hardware buttons here. To learn about attaching a LED to the your PI look here.
And lastly, this example uses IFTTT and Twitter. You will need an account on both services in order to follow along.
Setup Bitdog Hub
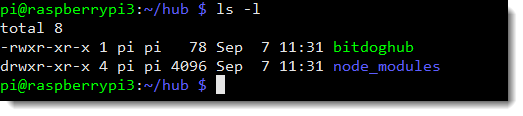
Log into your Raspberry Pi and navigate to where you have installed Bitdog Hub. I installed mine in /home/pi/hub.
I’m going to use the example IFTTTExtension.js that comes with Bitdog Hub as a starting point. The example IFTTTExtensions.js is located under the directory you installed Bitdog Hub at node_modules/bitdog-hub/extensions/IFTTTExtensions.js

IFTTTExtension.js is designed to send events to IFTTT when a hardware button attached to the Raspberry Pi is pressed. It will also accept events from IFTTT to turn on an attached LED.
Run the extension as-is so it will register with the Bitdog Cloud. The bitdoghub command takes an -e argument that can be used to specify an extension to load. If the hub is running, first stop it and then restart it with the
./bitdoghub start -e node_modules/bitdog-hub/extensions/IFTTTExtensions.js.
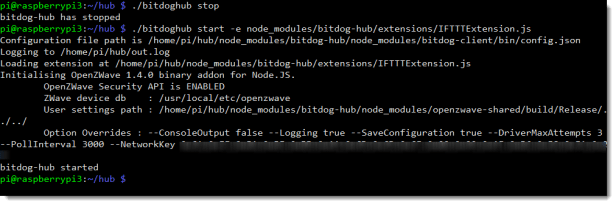
We now have our extension running and it has registered with the Bitdog Cloud. Let’s configure IFTTT to send commands to our hub when something happens on Twitter.
Activate Bitdog to IFTTT Integration
The first thing you will need is a free IFTTT account. Once you have your IFTTT account, search for “Maker”.
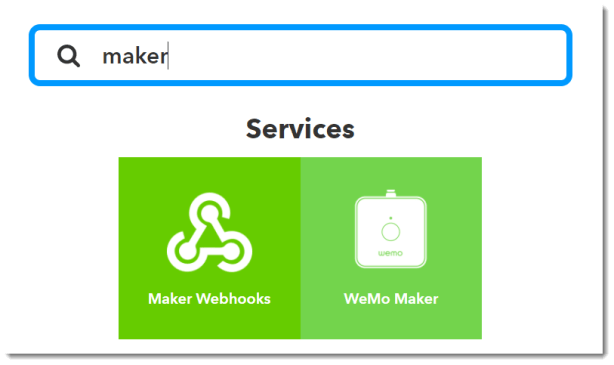
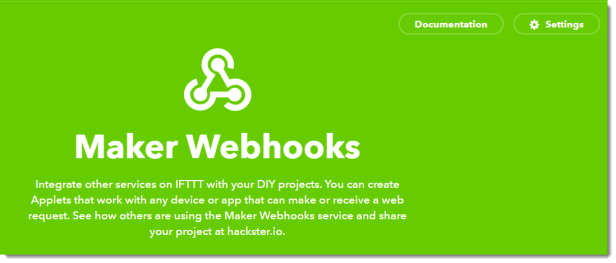
The Maker Webhooks service allows anyone to interact with IFTTT using standard HTTP requests, for both inbound and outbound events. You can use the Maker Webhooks service to create applets that send email, SMS messages, or even use Skype to keep you informed. Once you have found and selected Maker Webhooks, you will need to “Connect” as seen below.
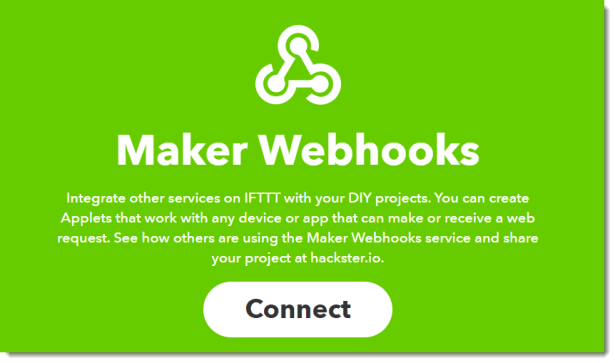
When you connect the Maker Webhooks, you will see the following. Click the Documentation button at the left top of the screen to see the details of Maker Webhooks.

Login to Bitdog Remote app on your mobile device and navigate to the settings screen.

Enable IFTTT and enter the secret key from IFTTT Webhooks Service. You have now linked your IFTTT account to your Bitdog.io account and you are ready to start sending messages between them.
I will discuss how to send and receive those messages in your Bitdog Hub in Part 2.
