In this cookbook entry we are going to be setting up the Z-Wave Z-Stick from Aeon Labs with the Bitdog Hub running on Raspberry Pi.
Prerequisites
If you haven’t purchased your Z-Wave Z-Stick already, you can purchase it on Amazon or any of the other retailers listed here. You’ll also need to setup the Bitdog Hub on Rapsberry Pi before continuing.
If your Bitdog Hub is currently running make sure that you stop it before continuing.
sudo systemctl stop bitdoghub
Bitdog Hub Configuration
First, we need to determine the path to our Z-Stick when we connect it to the Raspberry Pi. If your Z-Stick is already plugged in, disconnect it and plug it back in. Then, run the following command to identify the path to your Z-Stick
sudo dmesg | grep -Po "tty.*(?=:)" | awk '{print "/dev/"$1}'
Take note of the path to your Z-Stick and navigate to the following directory where you installed the Bitdog Hub.
[Bitdog Hub Directory]/node_modules/bitdog-hub/node_modules/bitdog-client/bin
Open the “config.json” configuration file, add a comma after the “node_id” section and add the new “zwave” section like below. Your node id will be different and be sure to enter your specific Z-Stick path under the connections array. The path to my Z-Stick is “/dev/ttyACM0” but yours may be different.
"node_id": "00000000-0000-0000-0000-000000000000",
"zwave": { "connections": ["/dev/ttyACM0"] }
Save the config file, go back to the root Bitdog Hub directory and start the hub again.

Login to Bitdog Remote on your mobile device and go to the Devices tab.
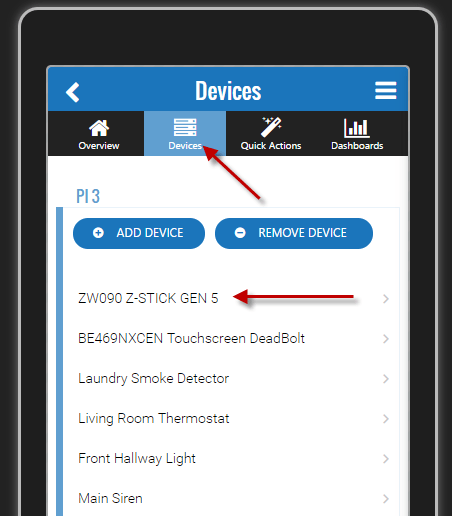
Now that you have your Z-Stick paired, you can configure new Z-Wave devices with the Z-Stick. Just click on Add Device.
Now that you have your Z-Stick configured with Bitdog Hub, check out the article on adding more devices here .
