
Updated on December 5, 2017…
This article will describe how to do a headless install of Bitdog Hub software on a Raspberry Pi. The headless install process will send progress notifications to your mobile device and let you know when its done. Its truly the easiest way to setup your Raspberry Pi for home automation.
To get started, you will need a few things…
- Raspberry Pi (2, 3, Zero, W)
- Micro SD memory card
- Download PuTTY or Bitvise SSH Client
- Download PiBakery
- Download Bitdog’s example PiBakery recipe
- Create an account at Bitdog
- Download Bitdog Remote app on your mobile device


Sign up at Bitdog
IF you haven’t already done so, create a Bitdog account by clicking here Sign Up. After you have signed up, download the Bitdog Remote app to your mobile device. The Bitdog Remote app will allow you to configure mobile push notifications and create a Bitdog Hub pairing passphrase.
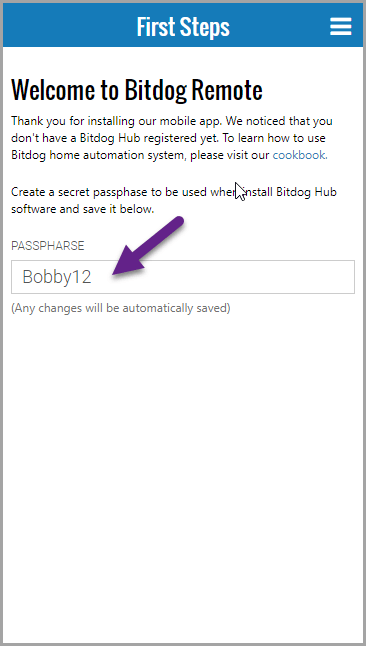
Sign into the mobile app for the first time using your user name and password that you created when you signed up with Bitdog. It will bring up the First Steps page. Pick a secret passphrase and edit the PASSPHRASE at the bottom of the page. This passphrase will be used when adding Bitdog Hubs to your Bitdog account.
Create Raspbian OS image on SD card
Insert the micro SD memory card into your computer.

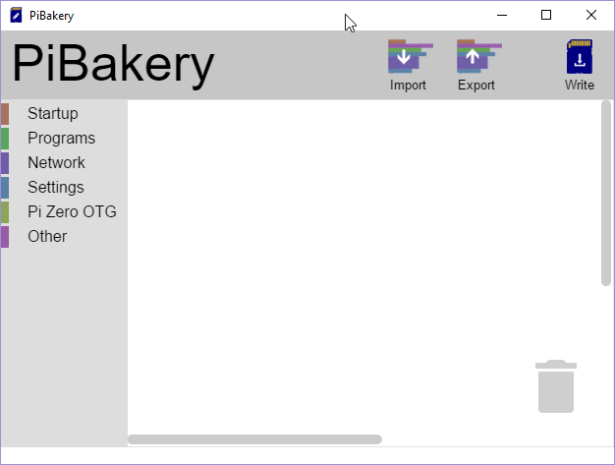
Download PiBakery to your computer. Click here for PiBakery. Start PiBakery once it is installed.
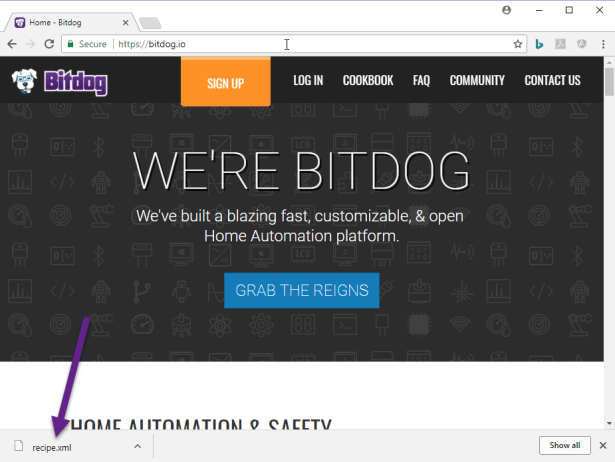
Now download and save Bitdog’s example PiBakery recipe. Click here for recipe.
Now import this recipe into PiBakery.
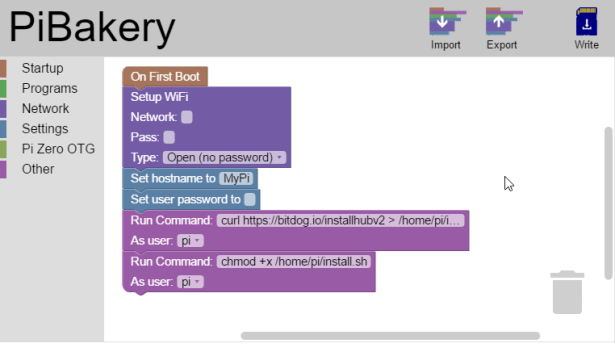
This recipe will configure your Raspberry Pi’s Wi-Fi settings, hostname, and the password for the pi user. It will also download the Bitdog Hub installation script to /home/pi/install.sh and set its permissions. Please complete this recipe’s Setup WiFi section by providing your Wi-Fi SSID, password, and authentication type. Also provide a host name for your Pi and user password for the pi user.
Once you are ready, click Write in the upper right corner to write the configuration to your SD card.
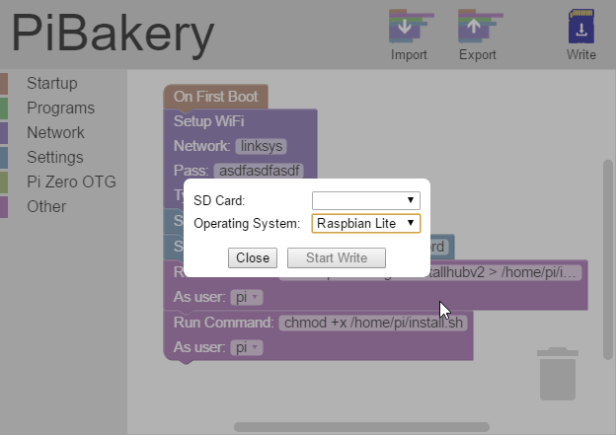
Pick the SD card you want to save the configuration to and select the version of Raspbian. We strongly suggest selecting Raspbian Lite as it will install the least amount of unneeded software and allow the setup to complete faster. Click Start Write to start the copy process.
Once the write process is finished, remove the SD card from your computer and place it into the Raspberry Pi and plug it in. You should immediately see the LEDs on the Raspberry Pi start blinking vigorously as the system boots and configures itself.
It should take less than a few minutes for the configuration to finish. You should be able to use PuTTY or Bitvise SSH Client to SSH to the host name you provided in the PiBakery recipe. The user name will be pi and the password will be the one you provided in the recipe.
Installing Bitdog Hub software
You should find the Bitdog Hub install script at /home/pi/install.sh. From the /home/pi directory, start the install with the following command and replace the place holders in curly braces with your values.
./install.sh -u "{bitdog-username}" -p "{bitdog-passphrase}" -n "{hub-name}" -v -s
-u: This is the email address you used to sign up to Bitdog.
-p: This is the passphrase you selected in the Bitdog Remote app.
-n: This is the name you want for your hub.
-v: This flag will install additional video libraries required for security camera monitoring. Only use this flag if you are going to attach a camera to this Raspberry Pi. Note: Video libraries include Motion, FFmpeg, and several other video packages. Setting this flag will add considerable time to the installation. For the Raspberry Pi 2 and 3, it may add 15 minutes or more to the installation. For the Raspberry Pi Zero and W, it will add several hours to the installation. We are working on making compilation of these libraries more efficient in future versions of the installer.
-s: This flag tells the installer to send installation progress push notifications to your mobile device.
The installer will automatically do the following:
- Validate user name and passphrase with Bitdog Cloud.
- Reboot the Raspberry Pi to begin headless install.
- Run apt-get install for any additional libraries required by Bitdog Hub.
- Run apt-get upgrade for all libraries and general system.
- Install Node.js
- Install NPM.
- Install OpenZWave.
- Create the necessary systemd management scripts.
- Install Bitdog Hub software and register the new hub with Bitdog Cloud.
The installer process will reboot the device several times during install. Please do not unplug it or run other programs while the installer is running. When the installer is done, it will send a push notification to your mobile device. Open Bitdog Remote on your mobile device and you should see your newly configured hub listed in the app.
Please feel free to email us at support@bitdog.io if you run into trouble or drop us a tweet on Twitter, we are @bitdog_io.
